Menus are containers for menu items. A Menu needs to be linked to a location to have items appear on a register. Some businesses will only need one Menu, but others might need several. This article will explain how to create Menus and add Items to a Menu.
Table of Contents
Quick Overview
You can create a new Menu or edit existing Menus in the Menu Manager page. To create a new Menu, click the Create button, and then click Menu. A side panel will open up and ask for details about this Menu. To learn more about the details of a Menu, continue reading below.
Creating a Menu
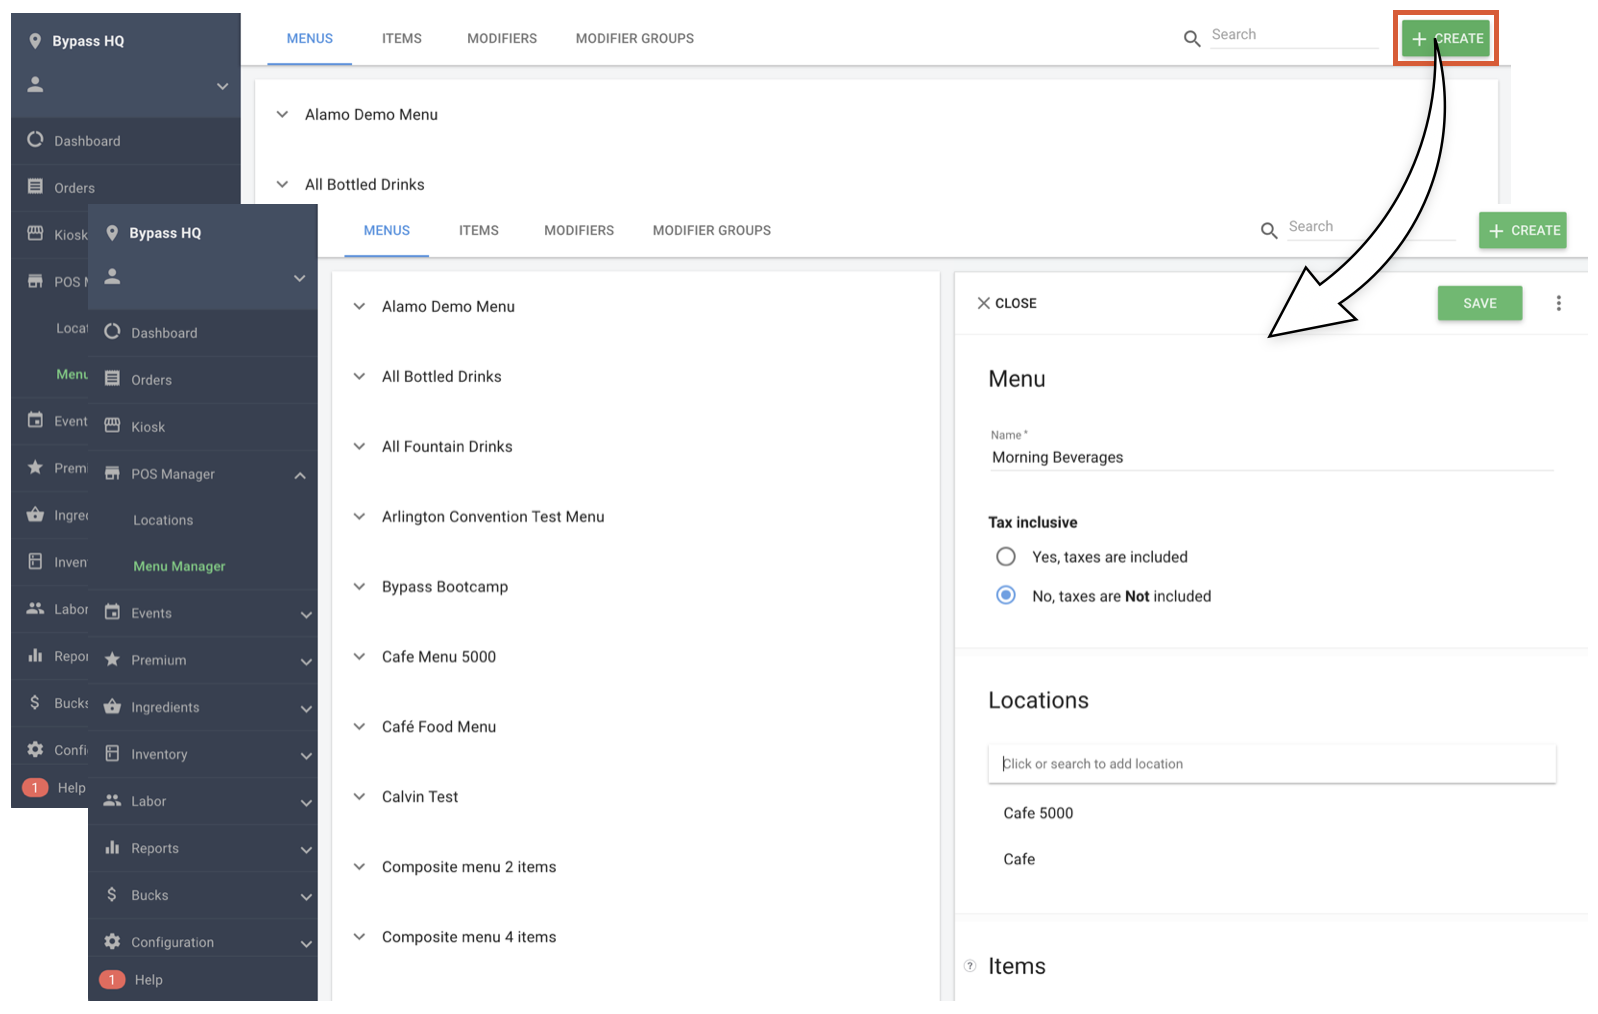
To create a Menu, navigate to POS Manager > Menu Manager and click the Create button in the top right-hand corner.
The Edit panel will slide in and allow you to add the Menus details. Menus have the following sections:
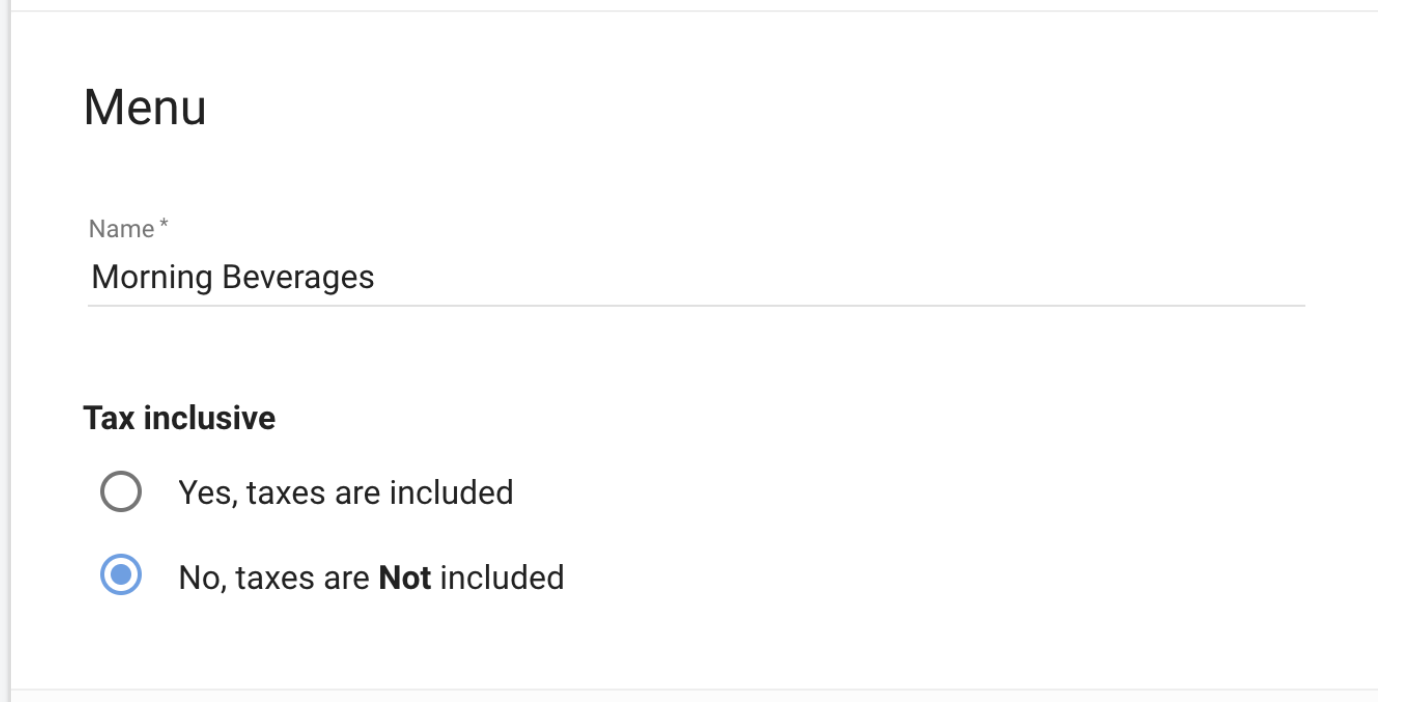
- Menu Name - The name of the menu as it appears in Bypass Manager
- Tax Inclusion - if the items in this menu include tax or not. Menus that are Tax Inclusive will not charge tax on the order
- Locations - What Locations this Menu is attached to. A Menu can be attached to more than one Location
- Items - What Items this menu contains
For a more detailed look at each of these details continue reading below.
Archiving a Menu
If you would like to remove a menu from Menu Manager you may archive that menu. All archived menus will be saved in a separate page so that you can keep your Menu Manager looking clean and organized. If you wish to use an archived menu in the future, you may unarchive that menu at any time.
To archive a Menu, navigate to POS Manager > Menu Manager and select the menu you would like to archive. Then click the three vertical dots on the top-right corner of that menu's edit page and select Archive.
You may view archived menus by clicking on the View menus drop down at the top of the module and selecting View archived menus.
You may click on the green Unarchive Menu button on any of the menus in this page to return them to use in your venue.
Menu Name and Tax Inclusion
The Menu Name is how this Menu displays throughout Bypass. This name should represent the type of items you want to contain in it.
Tax Exclusive Menu - Prices on this type of menu do not include tax. Customers will pay tax as an addition to the menu price and taxes will be applied on the tender screen.
Tax Inclusive Menu: Prices on this type of menu will assume your taxes are included in the menu price, meaning, there will be no additional charge to customers for taxes outside of the listed menu price. Please see example above.
Tax Inclusive (continued) - Manager system will automatically adjust your menu price to properly reduce your menu price (to adjust for your tax rate), calculate taxes, and sum those to equal your listed menu price.
Locations
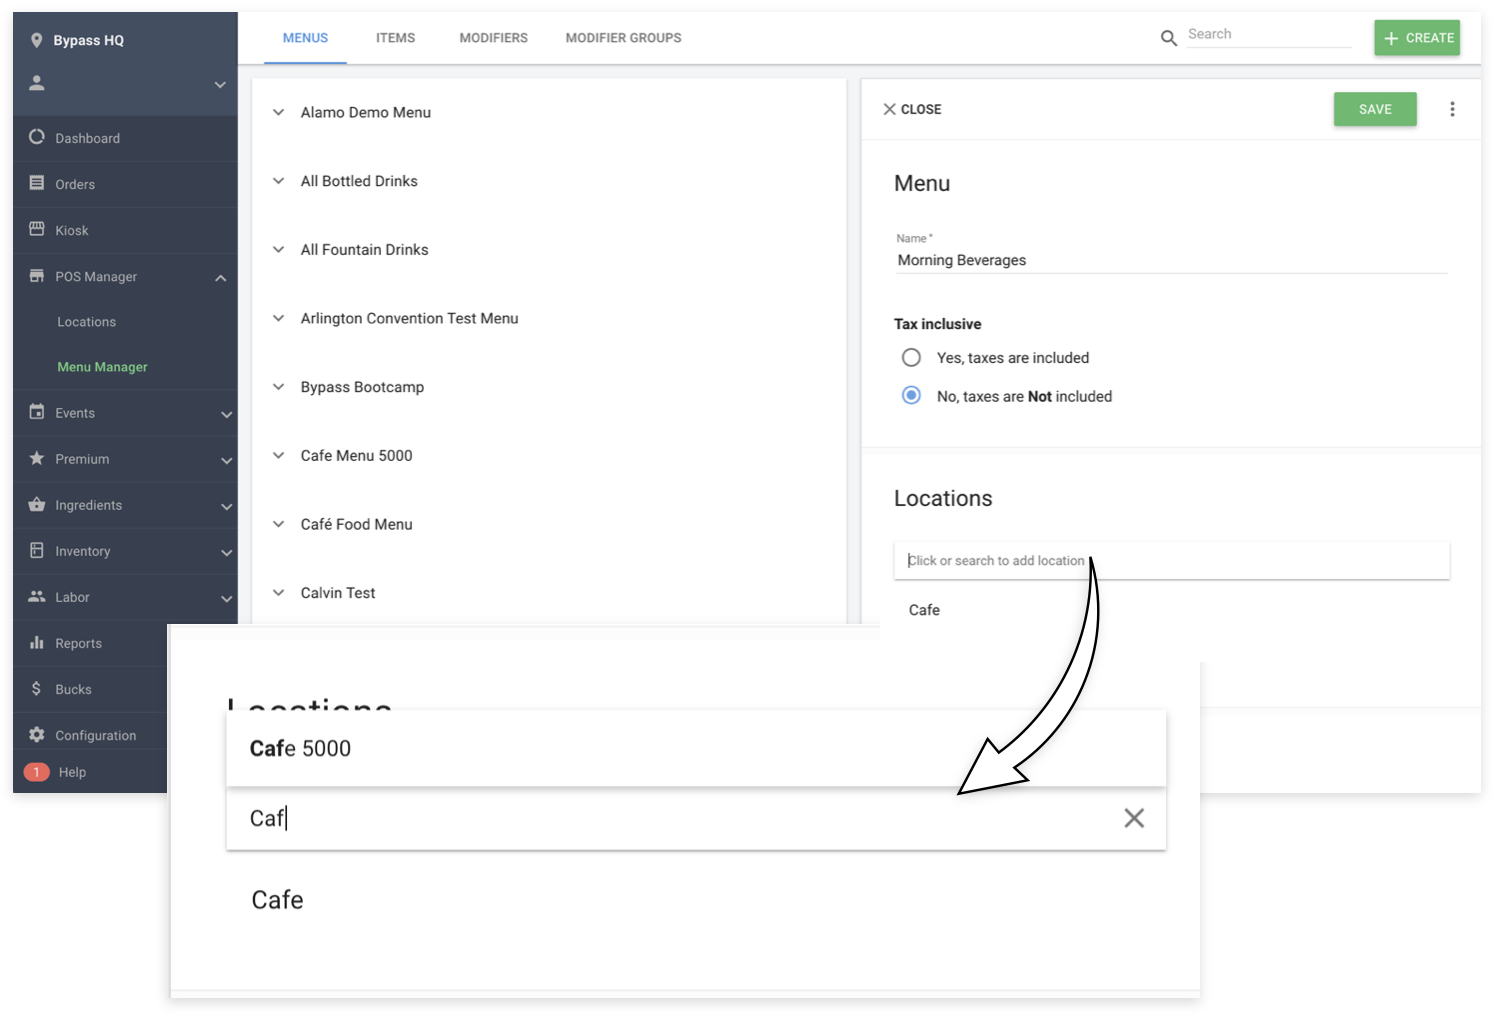
Searching in the Locations field with show any existing location. In this example, we add the Morning Beverages Menu to the Cafe 5000 Location. Typing in this field, we can add it to the Cafe 5000 location by clicking on its name. To learn more about Creating Locations, click here.
Items
Scroll down to see the Items section. Here you can add existing items to a menu. When adding an Item to a Menu, you can choose its price and Print Group, if applicable.